

Upload your image effortlessly using available methods. Choose an image directly from your device, drag and drop it into the upload area, or import files from Google Drive or Dropbox. This flexibility allows users to access images stored locally or in cloud storage without downloading them first, making the resizing process faster and more convenient across desktop and mobile devices.
Resize images using three resize types, which are Stretch, Crop Fit, and Fixed. Stretch resizes the image to the exact dimensions; Crop Fit preserves important content by cropping excess areas; and Fixed mode maintains the original image while adding customizable background padding. These options help users achieve the exact 400×600 size without compromising the desired appearance.
Instead of limiting users to pixels, the tool supports multiple measurement units, including pixels, inches, centimeters, and millimeters. Users can also choose from 72 DPI, 96 DPI, 200 DPI, or 300 DPI, making the tool suitable for both digital use and professional printing. This makes it ideal for passport photos, document submissions, brochures, and print-ready graphics.
Control image quality using an adjustable quality scale ranging from 0.1 to 1.0. Lower quality settings reduce file size for faster uploads and web sharing, while higher quality preserves fine image details for professional use. This feature helps balance image clarity and storage requirements without requiring separate compression software.
Perform quick image adjustments without opening a photo editor. Rotate images by 90° left or right, flip them horizontally or vertically, zoom in or out for better framing, and even change the output shape to square or circle. These built-in editing options eliminate the need for additional editing tools before resizing.
After resizing, download your image in the format that best suits your needs. Supported formats include PNG, JPG, JPEG, WEBP, and GIF, ensuring compatibility with websites, social media platforms, online forms, presentations, and printing services. Once the desired settings are selected, the resized image is generated instantly and ready for download.
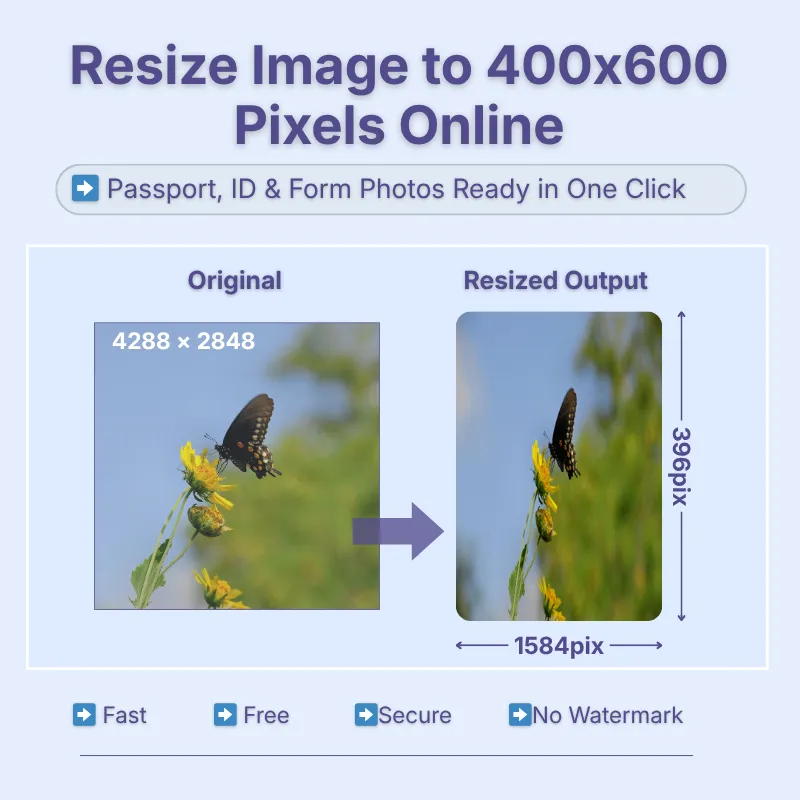
Other useful information
Explore our visual guides and infographics
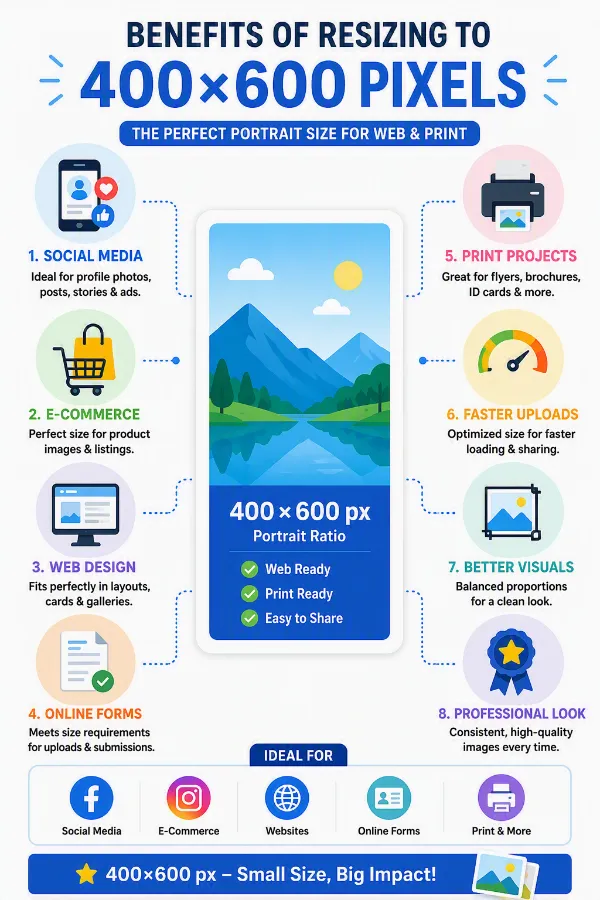
The infographic highlights the benefits of using 400×600 pixel dimensions
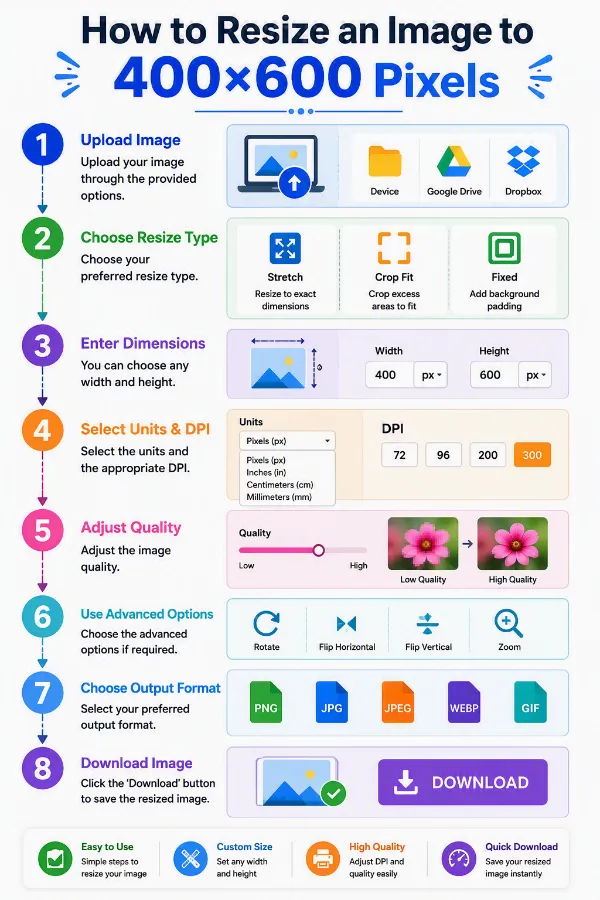
The infographic explains the simple steps to resize an image to 400×600 pixels.
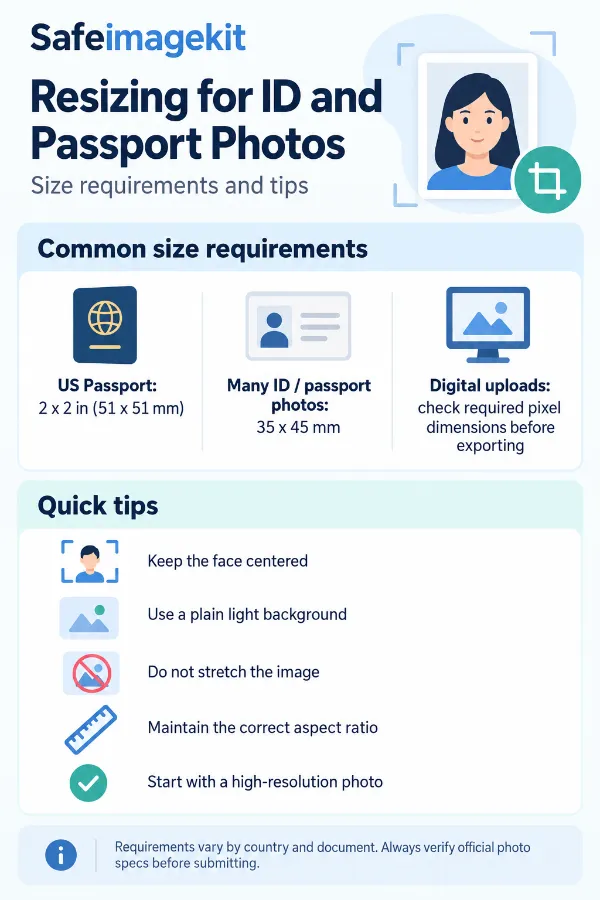
The infographic shows common size requirement used for id cards and passport-style applications.
Frequently Asked Questions
If you want exact dimensions, choose Stretch. To preserve important parts of the image, use Crop Fit. If you don't want any cropping or stretching, choose Fixed mode and add background padding instead.
Yes. Select either Crop Fit or Fixed mode. These options preserve the original proportions while helping the image fit the required dimensions.
A 72 DPI is suitable for websites and digital displays, while 300 DPI is recommended for professional printing because it produces sharper printed images.
Yes. The tool supports pixels, inches, centimeters, and millimeters, making it suitable for both digital and print requirements.
Depending on the resize mode you choose, the image can be stretched, cropped, or padded with a background color to fit the required dimensions.
JPG is suitable for photographs, PNG is ideal for transparent images, WEBP provides excellent compression for websites, and GIF works for simple graphics and animations, while JPEG offers broad compatibility.
Yes. Since you can specify exact dimensions, DPI, resize method, and background padding, the tool is well suited for many official image requirements. Be sure to verify the exact specifications required by the organization requesting the photo.
Reducing image dimensions generally preserves quality well. Enlarging small images may introduce some loss of sharpness because new pixel information must be created.
Yes. When using Fixed resize mode, you can add background padding and choose a custom background color instead of stretching or cropping the image.
The complete processing is browser-based. So, the images are processed locally in the browser and are not uploaded to external servers.
Stretch changes the image dimensions to exactly match the selected size, even if it slightly distorts the image. Crop Fit maintains the original aspect ratio by cropping excess portions, while Fixed keeps the entire image intact by adding background padding where necessary.
Stretch type is useful when an application requires exact dimensions and slight distortion is acceptable. It is commonly used for templates, placeholders, or systems that strictly validate image dimensions.
Fixed mode is usually the best option because it maintains the complete image while adding background padding to meet the required dimensions. However, always check the specific requirements of the issuing authority.
Images with 400×600 dimensions are frequently used for online applications, profile photos, ID cards, digital portfolios, document uploads, and printing where portrait-oriented images are required.
You can resize an image to 400×600 pixels using this tool. However, passport photo requirements vary by country and may also specify DPI, physical dimensions, background color, and head positioning. Always verify the official requirements before submitting.
Yes. When combined with an appropriate DPI setting, a 400×600 image can be printed. The print quality depends on both the image resolution and the selected DPI.
Pixels are best for digital platforms such as websites and social media, while inches are commonly used when preparing images for printing.
Yes. The 400×600 image resizer is a web-based online tool, so you can resize images directly in your browser without installing software. It works on desktop and mobile devices.
DPI (Dots Per Inch) determines how much detail is printed within each inch. Higher DPI values produce sharper and more detailed printed images.
72 DPI is suitable for digital viewing but generally too low for professional printing. For high-quality prints, 300 DPI is the preferred choice.
Yes. This tool lets you set custom dimensions in different units and choose the appropriate DPI before downloading the resized image.
Use the Image Cropper when you want to remove unwanted portions of an image. Use the Resize tool when you need to change the image dimensions while preserving as much content as possible.
Compressing image further reduces its file size, making it faster to upload, easier to share, and more suitable for websites without significantly affecting visual quality.
Convert the image format when you need compatibility with a specific platform or want features such as transparency (PNG), smaller file sizes (WEBP), or broader support (JPG/JPEG).
High-resolution images contain more pixel information, allowing them to maintain better clarity and sharpness after resizing, especially when reducing dimensions.
Yes. You can resize transparent PNG images while preserving their transparent background by selecting PNG as the output format. Transparency is maintained throughout the resizing process, making it ideal for logos, icons, stickers, graphics, and other images that require a transparent background. If you save the resized image in formats like JPG or JPEG, the transparent areas will be replaced with a solid background because those formats do not support transparency. For the best results, choose PNG format whenever you want to keep transparency intact.
No. Enlarging an image increases its dimensions but cannot create missing details. Starting with a higher-resolution image produces better results.
Use the appropriate resize mode, avoid excessive upscaling, select a suitable quality setting, and choose the correct DPI and output format for your intended use.
400×600 pixels cannot be converted to centimeters without knowing the DPI. At 300 DPI, 400×600 pixels is approximately 3.39 × 5.08 cm.
Over 500k Users Rely on Our Image Editing Tools Monthly
Join a growing community of creators who trust safeimagekit.com for versatile image editing and processing solutions.