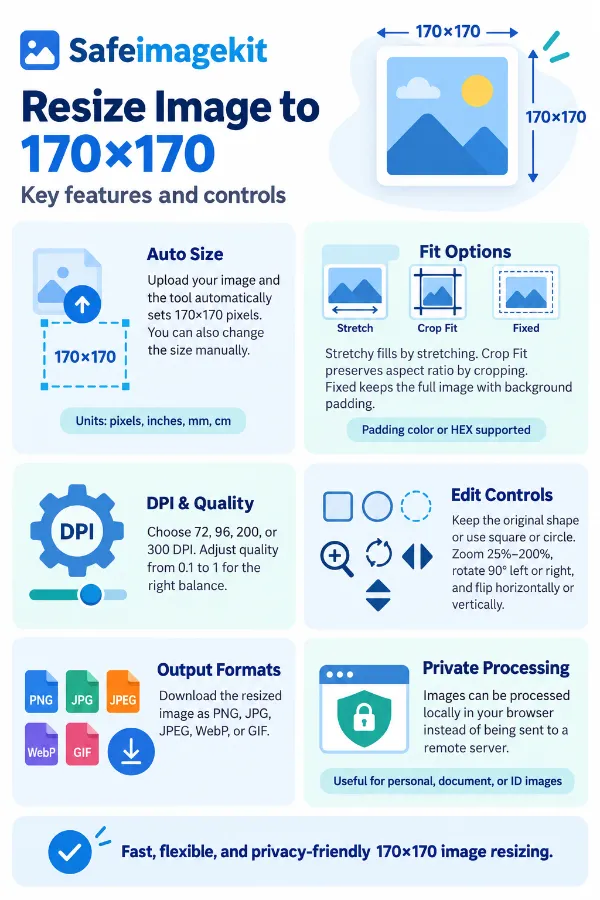
Simply upload your image, and the tool automatically sets the resize dimensions to 170×170 pixels, so you do not need to enter the width and height manually. If you need a different size, you can change the dimensions and switch the unit to pixels, inches, millimeters, or centimeters. This makes it easy to create an exact 170×170 image while still giving you flexibility for other size requirements.
Multiple Ways to Fit the Image
Stretchy resize type fills the 170×170 area by stretching the original image, while Crop Fit resize type fills the area by cropping excess portions and preserving the image's aspect ratio. Fixed resize type keeps the complete image inside the given dimensions and uses background padding where necessary, with an option to choose a color or enter a HEX code.
DPI and Quality Controls
You can select 72, 96, 200, or 300 DPI when your workflow requires a particular resolution setting. The quality control ranges from 0.1 to 1, allowing you to balance visual appearance and the resulting file characteristics. These controls are useful when the image needs to meet more than just a width-and-height requirement.
Shape, Zoom, Rotate and Flip Controls
The tool lets you retain the original shape or change the output to a square or circle. You can also zoom between 25% and 200%, rotate the image 90° left or right, or flip it horizontally or vertically before downloading. These controls help you adjust the image framing and orientation without needing a separate editing tool.
Multiple Output Formats
After resizing, you can choose PNG, JPG, JPEG, WebP, or GIF instead of being restricted to the original file format. This is useful when the destination platform accepts only certain formats or when you need to change the image format as part of the resizing process. The resized result can then be downloaded directly to your device.
Local Browser Processing for File Privacy
The image can be processed directly within your browser rather than being sent to a remote server for resizing. This is useful when working with personal photographs, private documents, identification-related images, or other files you do not want to upload to an image-processing service. The finished image is downloaded directly to your device after processing.
Steps to Resize an Image to 170x170 Pixels
1 . Upload an image from your device or use drag and drop or cloud storage.
2 . Select the resize type depending on your requirement.
5 . Click Download to save the resized image of 170 x 170 pixels to your device.
Other useful information
Explore our visual guides and infographics
The infographic outlines the main options for resizing images to a compact 170 × 170 pixel format.
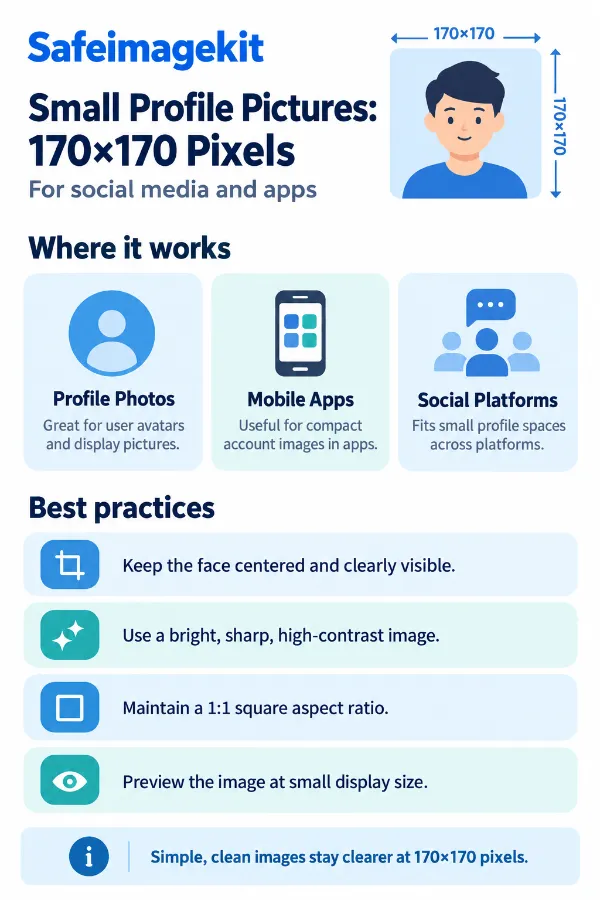
The infographic shows how 170 × 170 pixel images work as small profile pictures across social platforms and apps.
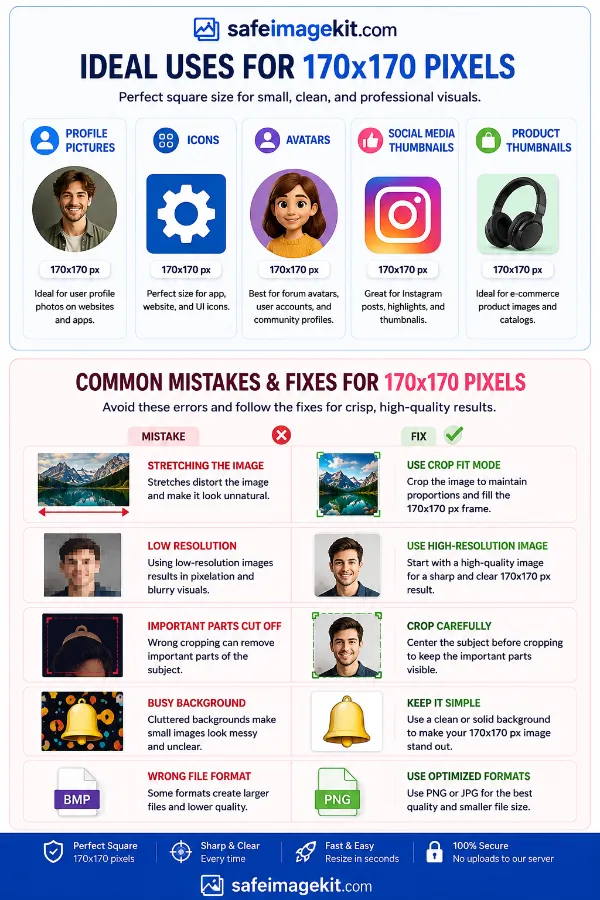
The infographic covers suitable uses for 170 × 170 pixel images along with common sizing issues and simple fixes.
×
Frequently Asked Questions
What is a 170x170 pixel image used for?
170×170 image is useful wherever a system requires a small, fixed square image. It can be used for profile-style graphics, small avatars, icons, thumbnails, account images, previews, website elements, and other interfaces that specify a 170×170 pixel canvas.
Why do I need to resize an image to 170x170 pixels instead of simply making it smaller?
A smaller-looking image is not necessarily 170×170 pixels. If a website or application specifies exact dimensions, an image such as 180×180, 200×200, or 170×130 may not meet its requirements even though it appears visually similar.
My original image is rectangular. How can I make it 170x170 without making people or objects look stretched?
Use Crop Fit rather than Stretchy. Crop Fit preserves the original aspect ratio while removing portions of the image that extend beyond the 170×170 square.
What happens if I use Stretchy mode for a 170x170 image?
Stretchy mode adjusts the original image to fill the requested dimensions. If the original image has a different aspect ratio, objects or people may appear wider, narrower, taller, or shorter because the image is being stretched to fit the square.
How can I fit the entire photo inside 170x170 pixels?
Choose the Fixed mode. It keeps the complete image inside the 170×170 area and fills the remaining space with background padding instead of cutting parts of the photo away.
Can I resize a 170x70 image to 170x170 pixels?
Yes. Upload your 170×70 image, and the tool will automatically set the output dimensions to 170×170 pixels. You can then choose how the original image should fit within the square using the available resize options.
Can I resize a 70x170 image to 170x170 pixels?
Yes. Upload your 70×170 image, and the tool will automatically set the output size to 170×170 pixels. You can then choose Crop Fit, Stretchy, or Fixed to decide whether the image should be cropped, stretched, or kept complete with background padding.
Can I convert a 170x130 image to 170x170 pixels?
Yes. Simply upload your 170×130 image, and the tool will automatically set the target dimensions to 170×170 pixels. Select the resize mode that best suits your image, such as Crop Fit to fill the square or Fixed to preserve the complete image with padding.
What if my image is 1500x170 pixels and I need a 170x170 version?
A 1500×170 image is extremely wide compared with a 170×170 square. Crop Fit can create the square by removing the excess horizontal area, while Fixed can retain the entire wide image but will leave substantial empty space inside the square.
Does resizing to 170x170 automatically crop my image?
No. Cropping depends on the mode you select. Crop Fit crops the image, while Stretchy stretches it and Fixed contains the complete image within the specified dimensions.
Can I resize a medical or personal image to 170x170 pixels?
Yes, the tool can resize an image like any other supported image file. Because processing happens locally in the browser, users who are handling private or sensitive images can perform the resizing without sending the image to the resizing server.
Can I lock the aspect ratio when resizing an image to 170×170 pixels?
Yes. Lock Aspect Ratio keeps the image's original width-to-height proportion when you adjust one dimension, which helps prevent accidental stretching or squeezing. If you need the image to match the exact 170×170 pixel target, you can unlock the ratio and adjust the dimensions independently.
Can I resize an image to 170x170 and change the DPI at the same time?
Yes. You can set the dimensions to 170×170 pixels and select 72, 96, 200, or 300 DPI. This is useful when a workflow specifies both image dimensions and a particular DPI setting.
What DPI should I select for a 170x170 image?
There is no single DPI setting that is correct for every use. 72 or 96 DPI can suit many screen-oriented workflows, while 200 or 300 DPI may be requested by workflows involving higher-resolution output or printing requirements.
Does changing DPI make a 170x170 image larger?
DPI and pixel dimensions are related but are not the same setting. If your requirement is specifically 170×170 pixels, keep the width and height at 170 pixels and select the DPI separately according to the requirements of the destination.
Can I reduce the quality of a 170x170 image to make the file smaller?
Yes. The quality control ranges from 0.1 to 1, allowing you to choose a lower or higher quality level. A lower setting can reduce file characteristics, although excessive reduction may introduce visible compression artifacts.
Can I make the 170x170 image circular?
Yes. The tool's shape options allow you to keep the original shape or change the output to square or circle. This can be useful for profile-style graphics where a circular presentation is preferred.
Can I rotate or flip my image before resizing it to 170x170?
Yes. Advanced options allow you to rotate the image 90 degrees left or right and flip it horizontally or vertically. These adjustments can be made before downloading the final resized image.
Can I resize to 170x170 and convert JPG to PNG at the same time?
Yes. After uploading the image, you can select the desired output format. The available formats are PNG, JPG, JPEG, WebP, and GIF, so resizing and format selection can be handled in the same workflow.
Why does my 170x170 image look different after resizing?
The result depends heavily on the original aspect ratio and the fitting method. Stretchy can alter proportions, Crop Fit can remove parts of the original image, and Fixed can introduce padding, so selecting the appropriate mode is important when visual appearance matters.
What type of images work well with an old movie effect?
Portraits, scenes, travel photographs, and other images can work well when you want to create a nostalgic or vintage presentation. The old movie effect is especially useful when the visual style is meant to resemble an older photographic or cinematic aesthetic.
Why would I need to duplicate an image multiple times?
Duplicating an image can be useful when creating repeated visual elements, patterns, layouts, comparison graphics, or designs that require the same image to appear more than once. The Duplicate Image tool can create multiple copies without manually adding the same image repeatedly.
Over 500k Users Rely on Our Image Editing Tools Monthly
Join a growing community of creators who trust safeimagekit.com for versatile image editing and processing solutions.
We appreciate your feedback and will use it to improve our services.
About The Author
RK Shree - A science enthusiast with a poetic flair, and possesses an insatiable desire to explore diverse fields seeking new knowledge and experiences. My work ethic is highly disciplined and dedicated. I take pleasure in pursuing creative endeavors that captivate me.